Sunday 18 February 2018

Fighting Retreat

Last weekend our stalwart wargaming friend, Anthony, called over to test out another scenario from One Hour Wargames (OHW) by Neil Thomas. This time dice were thrown to select the scenario and fate handed us Fighting Retreat, myself on the run with two units of knights, one of men at arms and one of archers, while Anthony took up the chase with four units of knights, one of archers and a hotch potch of the levy.
Here's how the action panned out:

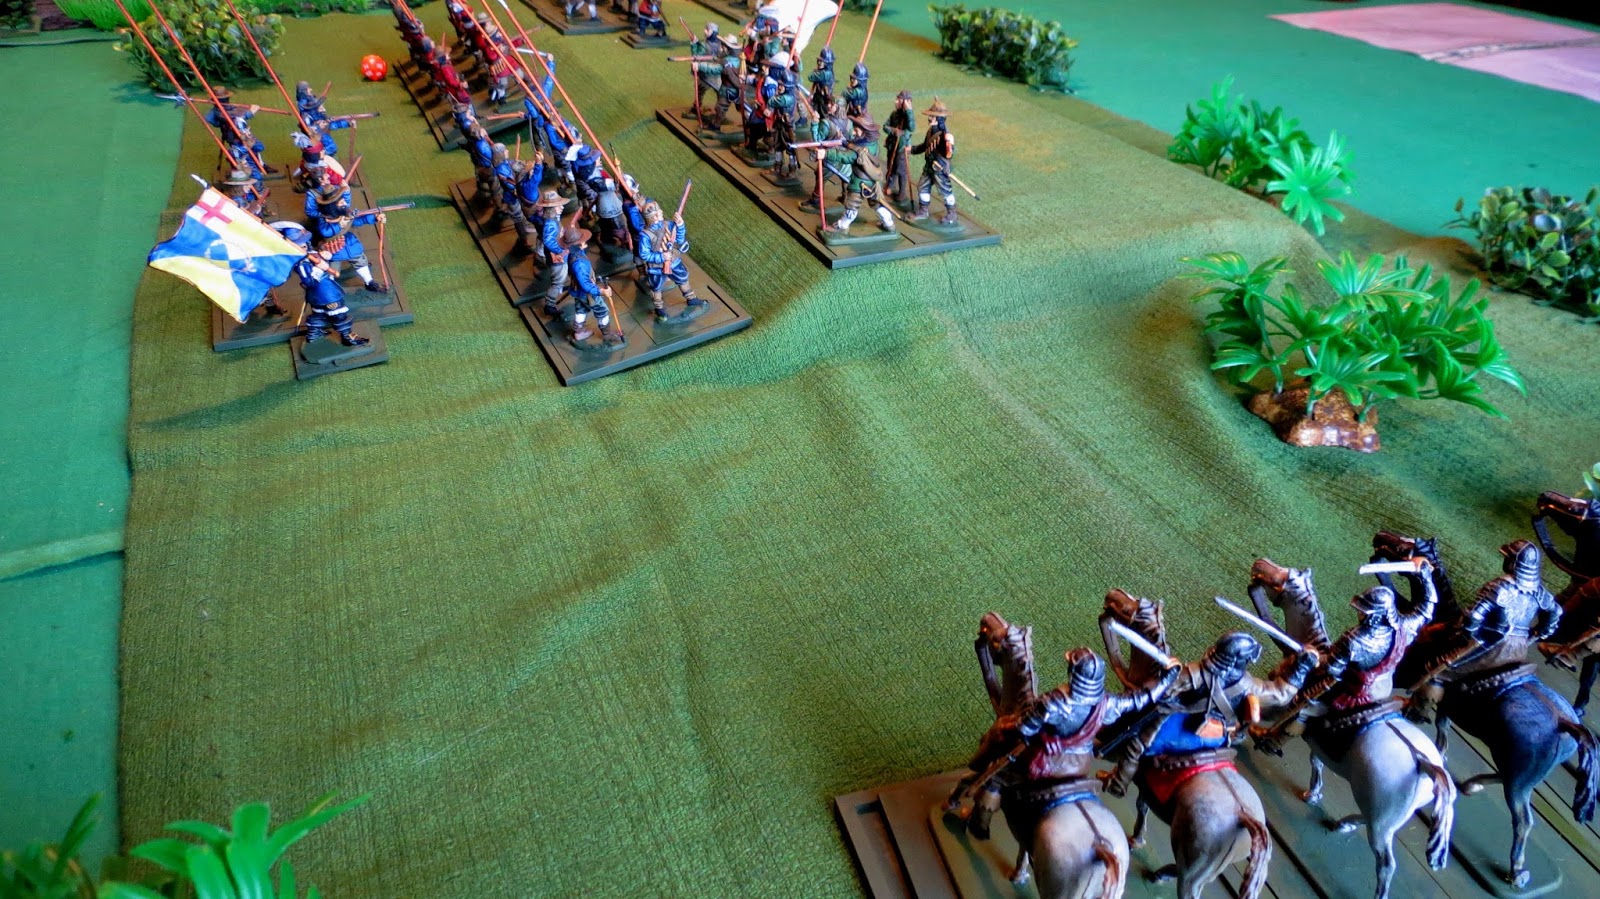
The opening moves see the renegades cross the river, do they make a stand and hold the two fords or run for the hills?  My natural instinct was to pull the archers back into the treeline where they would be safe from the thundering hooves of the knights, I'm sure this is what they would have done in reality but the rules don't allow any units into the woods. With these medieval rules, archers in woods would be nigh on unassailable so we went with the premise that if the footmen reached the safety of the woods they would just disperse and melt away into the undergrowth.

The archers got off one volley before the horsemen were upon them, the outcome was never in any doubt but the footmen were now playing for time and held out rather longer than one might reasonably have expected.

I couldn't think what toys to use for the levy (in the right foreground) so I quickly cobbled together some odds and ends of Robin Hood figures. I really don't like putting unpainted figures on the table and was doubly annoyed after the game to remember my Elastolin swappet Saxons which would have been perfect for this role, drat!

The archers succumb to the onslaught from the pursuing knights and their own horsemen, waiting in support, finally pile in to hold the line at the ford.

It was much the same story at the second ford, where the men at arms held off their attackers until being ridden down and eventually reinforced by their own body of knights.

And that was about it, the renegades held out until about round 12 before being eliminated, leaving the pursuers to ride on and capture the objective by round 15, thus winning the game.

There's a lot I like about OHW, primarily the simplicity, easy to learn, quick to set up and play, needing little space and few figures. But after two games it's feeling a bit limited to me, I feel a larger area and more units are needed to give more flexibility, as it stands there isn't much room for manoeuvre and units in melee can't disengage until one is eliminated so it's all too easy for a game to end up as one long slugfest (or perhaps I'm just a crap General?).  

Where we see this going is to continue using the core game system but use the whole 10' x 6' table area (as opposed to 6'x6') increase the max number of units from six to ten, increase troops types from 4 to 5/6 and set out terrain based on sections of historic battlefields.  Will these alterations change the dynamic of the game? What do you think?

Sunday 14 January 2018

Shambolic Command!

What a great phrase! it's the title of a scenario from "One Hour Wargames" written by Neil Thomas, which Santa brought me for Christmas, and it's the action which AM and I played yesterday using his rather sumptuously painted English Civil War figures.

The opening positions see the forces of Parliament above occupying a contested hill while the Royalists approach from the north.  The winner will be the side that either holds the hill at the end of fifteen turns, or eliminates their enemy, whichever comes first.

The figures are made by "A Call to Arms" and the rather wangy plastic pikes that they come with have been replaced with brass rod.  

Parliament fields six units but are led by a poor commander (hence shambolic command) who exhibits his incompetence by being allowed to only move two units per turn. The Royalists have only four units but are more ably led and can move all units each turn. A nice, simple mechanism to distinguish variability between commanders, I thought.

The Royalist infantry use their greater mobility in a frontal assault while their horse move around the flank, massed volley firing blows away a Parliamentary Regiment but the Royalists begin to run short on ammunition!

As the ammunition runs out the royalists charge home but are greatly weakened by counter volley fire and hand to hand fighting.  The twenty sided dice, seen behind each unit were used to keep track of the casualties it had suffered.

During the first half it looked as if my Royalists had the game in the bag but then attrition began to take it's toll and with fresh Parliamentary Regiments moving up they could no longer take the pressure, and it was all over.  Victory to the Parliamentarians.

Each scenario in the book is based on an actual battle so you can look it up afterwards and see what should have happened, in this case the course of history was changed!  The game took us about two and a half hours to play but could probably be done in about half that time had we been more acquainted with the rules and not spent so much time gassing on about toy soldier stuff.

We played on an area 6' x 6' and doubled the movement/firing distances, the rules are quick and easy to pick up and I thought they were ideal for skirmish games with 54mm figures.  I liked their simplicity and the fact that much the same structure, with just subtle changes, was used for every historical period, which is ideal if you tend to flit from age to age as we do.

The rules have come in for some criticism of over simplicity and I can see how they wouldn't sit well with some people but I felt they were fine for giving the feel of a period without tying one down into the straightjacket of too much detail.  The only thing I wasn't too keen on was trying to keep track of the casualties/hits for each unit, we attached a D20 to each unit to record this, which worked well enough but was a bit fiddly and would be rather onerous on a larger sized battle (to which I aspire)  and I'm sure we can find a better way to tackle this.